
1970 Triumph 2000 MK2 Restoration
“The world’s first concours standard Triumph 2000 Restoration” we think…


The 1970 Triumph 2000 is a striking example of British automotive design, renowned for its blend of style, comfort, and performance. With its elegant lines and spacious interior, this classic saloon offers a refined driving experience. Powered by a smooth 2.0-litre six-cylinder engine, the Triumph 2000 delivers an excellent balance of power and efficiency. Its comfortable seating and thoughtful cabin layout make it ideal for both everyday commuting and long-distance journeys. The Triumph 2000 remains a beloved choice among classic car enthusiasts, embodying the spirit of an era where craftsmanship and innovation came together to create a truly remarkable vehicle.
Our latest arrival and straight into the workshop for a full 2 day assessment following recent purchase by the owner. The car will benefit from a full mechanical overhaul including replacement of copper brake lines, gaskets, seals, gearbox rebuild, engine freshen up and more.
Following it’s mechanical works and engine and gearbox removal, we have removed the interior and taken the car into the metalwork shop for some remedial metalwork.
How do you replace the sills on a Classic Car?

Overview
Replacing sills on classic cars is a crucial maintenance task that helps ensure the structural integrity and longevity of the vehicle. Sills, which are located at the bottom of the car's body near the doors, are often susceptible to rust and damage due to their exposure to moisture and road debris.
Assessment
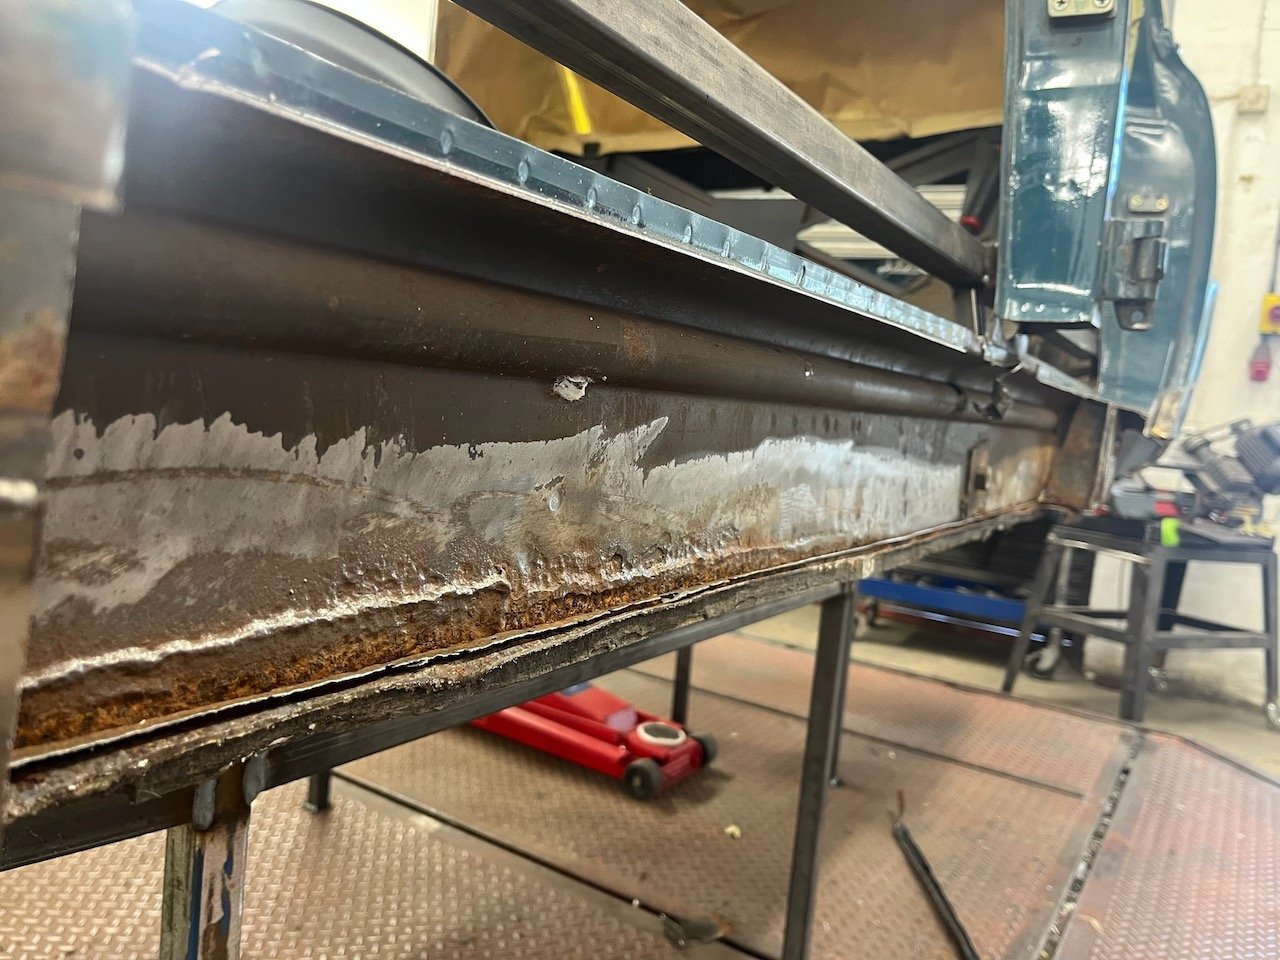
Inspection: We begin by thoroughly inspecting the sills for any signs of rust or damage. Look for bubbling paint, cracks, and areas where the metal feels soft. It is also essential to check the surrounding areas for signs of deterioration that may need addressing.
Tools and Materials: W gather the necessary tools, including a grinder, welding equipment, measuring tools, and protective gear. On this occasion we have sourced the replacement sills as they are readily available.

Removal
Preparation: Before we start, we ensure the area is clean and organised. We remove any interior trim or upholstery that may obstruct access to the sills. The car is then fitted to our jig bed to secure the integrity of the vehicle.
Cutting Out the Old Sill: Using a grinder, we carefully cut along the edges of the existing sill. Take care to avoid cutting into the surrounding metal. Once the cut is complete, we remove the old sill carefully.
Installation
Fitting the New Sill: We place the new sill into position, ensuring it aligns correctly with the body of the car. It may be necessary to trim the new sill slightly for a perfect fit.
Welding and Securing: Once positioned, we weld the new sill into place. We always ensure we are using the appropriate welding technique to maintain the integrity and aesthetics of the vehicle. After welding, grind down any rough edges for a smooth finish.
Sealing and Painting: After installation, we clean the area and apply anti-rust treatment to protect against future corrosion. Finally, our painter will paint the new sill to match the existing bodywork.
Conclusion
Replacing sills on classic cars is a meticulous process that requires careful assessment, removal, and installation. By undertaking this procedure, you can significantly enhance the durability and appearance of a classic vehicle, ensuring it remains a cherished part of automotive history. Regular inspection and maintenance play a vital role in the preservation of classic cars, preventing minor issues from turning into significant problems.
Photo diary


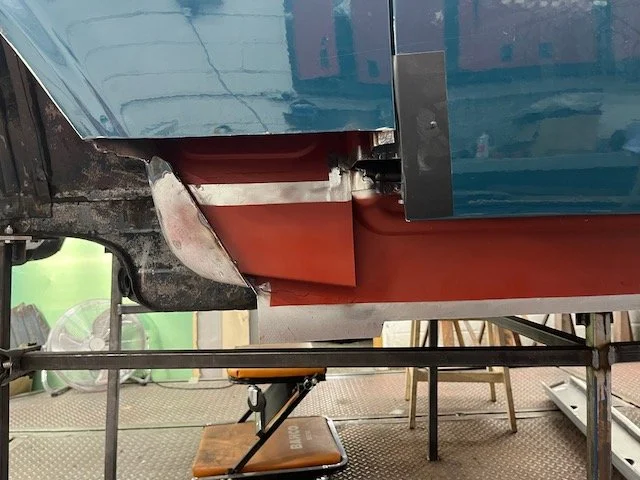


Further metalwork requirements following sill work, including in-house fabrication of repair panels…


Bulkhead Rust - fabrication and replacement of bulkhead and surrounding panels…


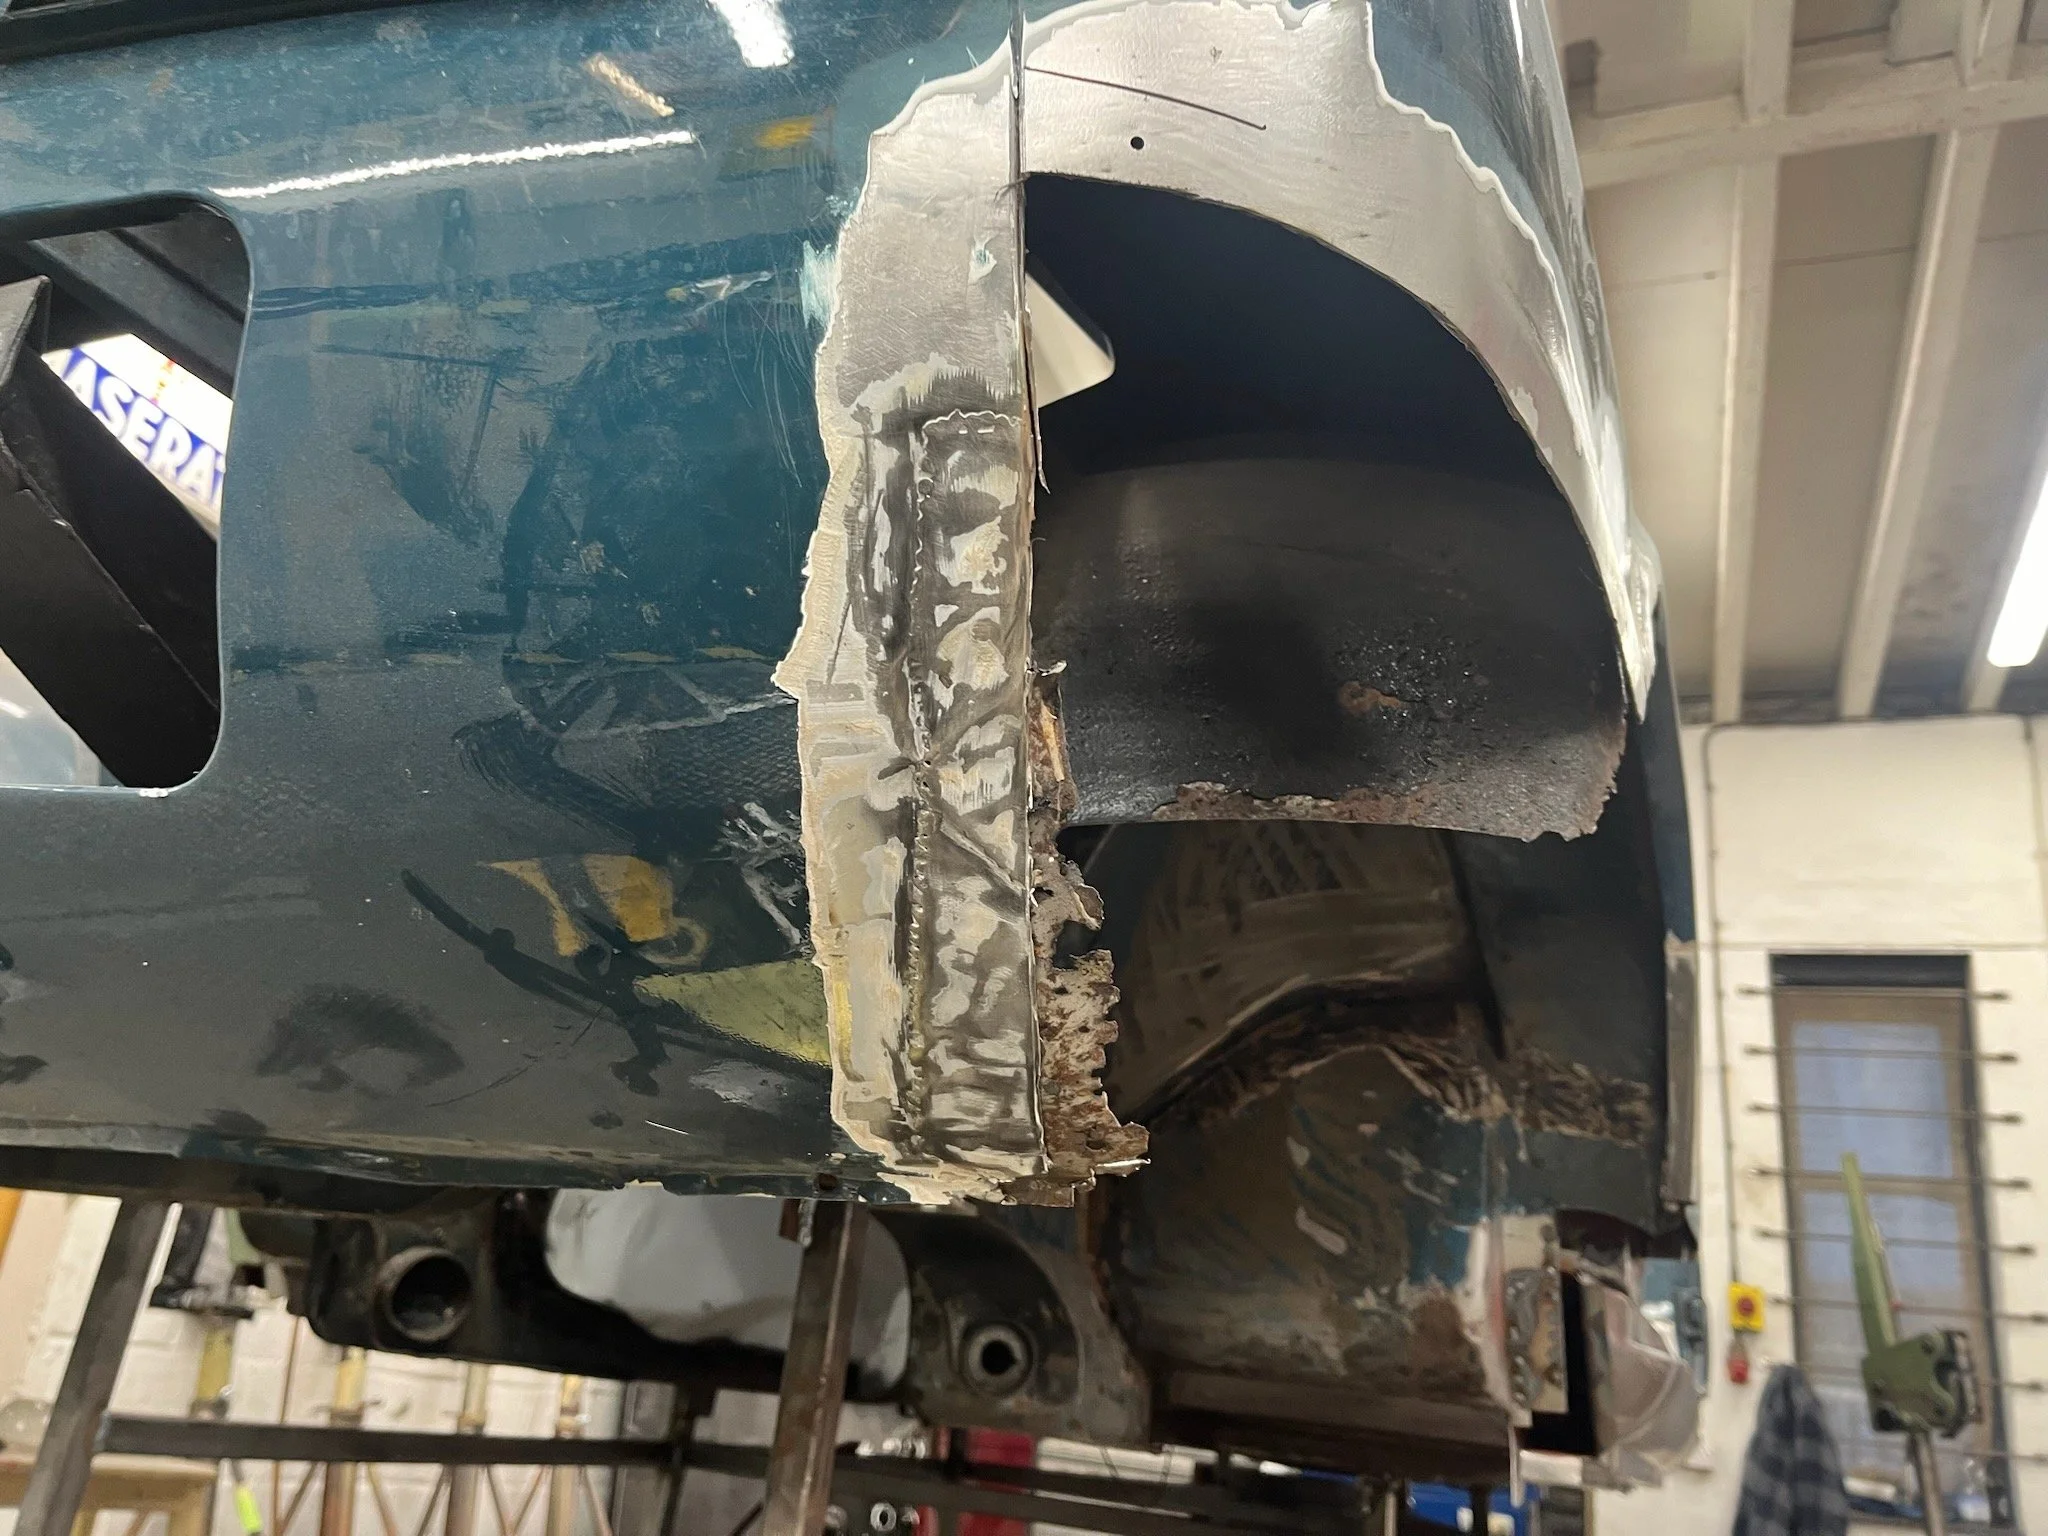
Wheel arch repairs


…


Doors - all 4 doors appeared to be in ‘o.k’ condition but showed evidence of previous poor MIG repairs. The decision was made to strip the doors down, send the frames for media blasting and to fabricate lower door repair sections.


Media Blasting of Door Frames - all of our blasting requirements are sent to specialist sub-contractors. They really are experts at what they do.
We wait…
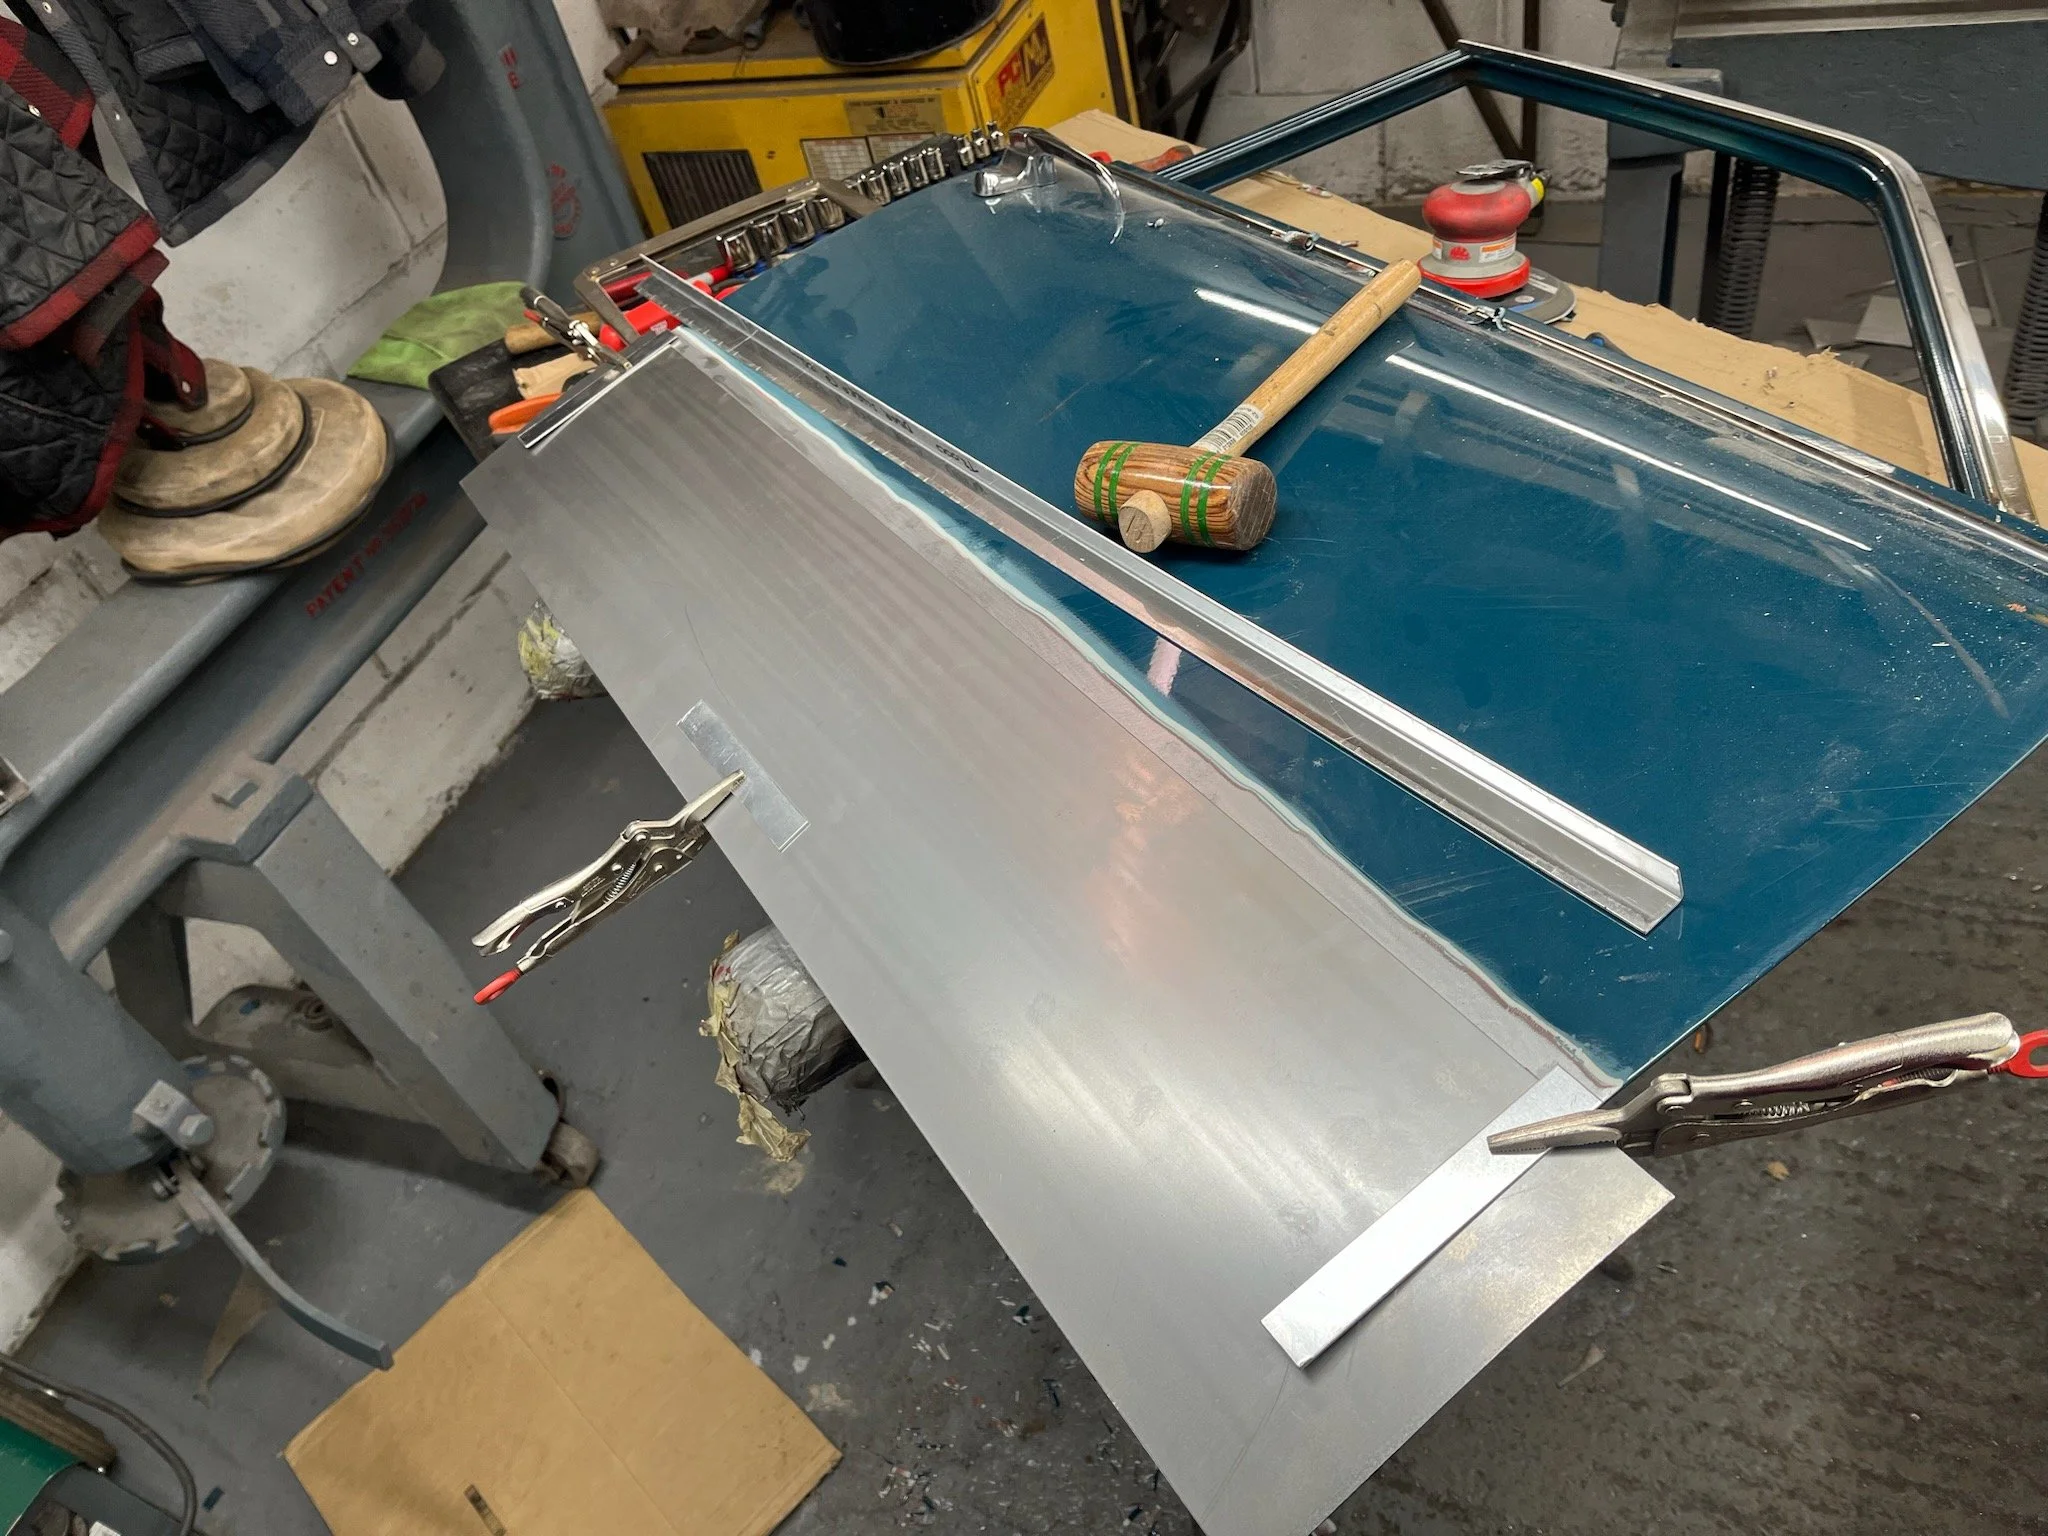
Fabrication and fitment of lower door skin repair panels


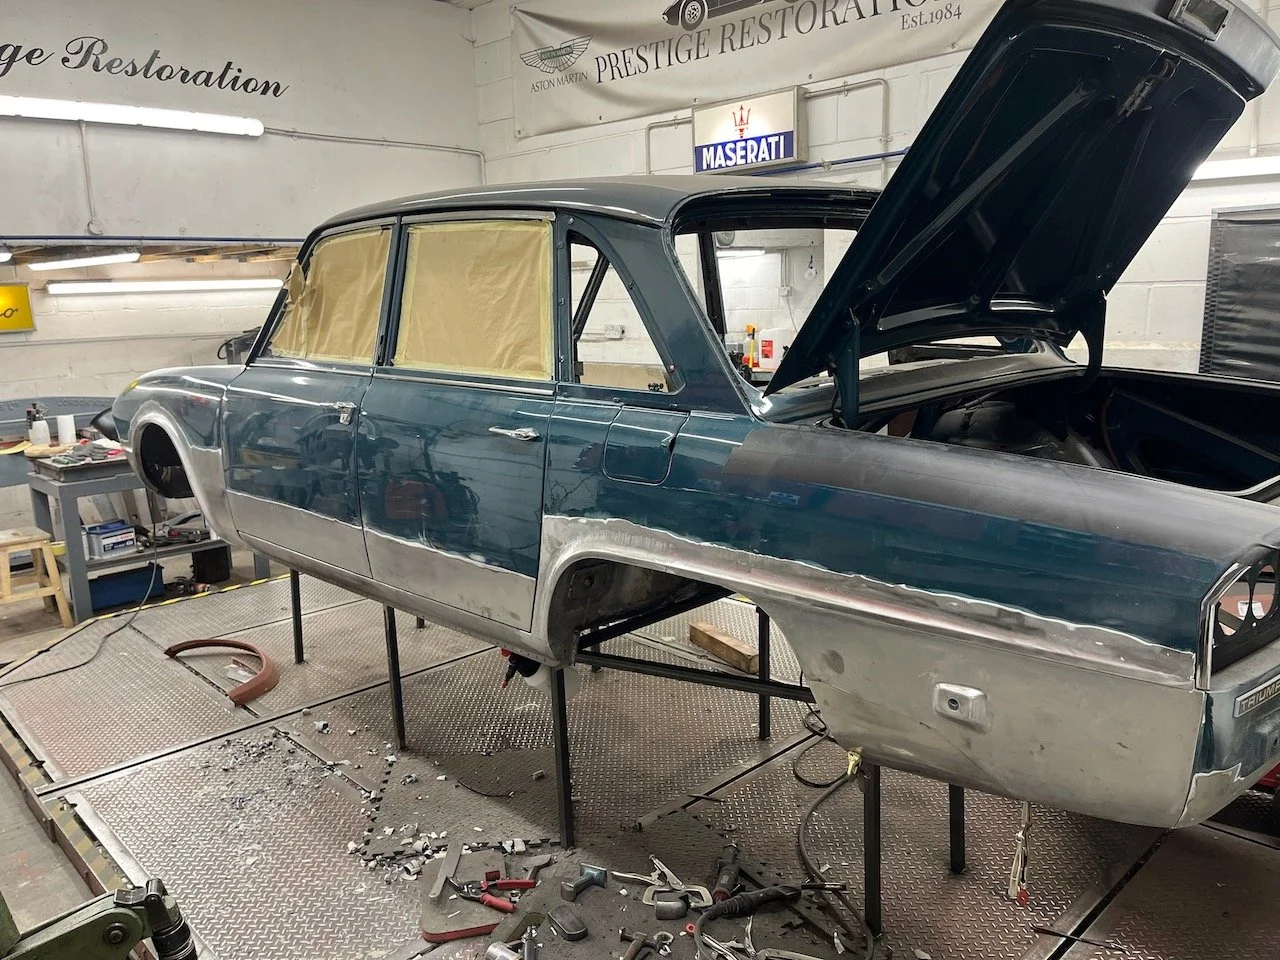
Finally - it’s time to bring everything together….

Suspension and running gear - strip down
All of the running gear will be stripped down to component form, parts will get sent for media blasting and black powder coating or plating, once they’re back, we’ll begin the repairs and refit of these components with all new bushes, trailing arms and bushes, engine and gearbox mounts, new shocks, discs, pads, new bump stops, steering rack gators and new steering column UJ’s. We’ll also be replacing the rear hubs with new ones.

Engine works to commence…

Differential Rebuild…
The Triumph 2000 differential rebuild will include all new bearings, seals, gaskets, shims/thrust washers as required, fitting of a drain plug, new crown-wheel & pinion and lastly an external repaint/finish.

Suspension and upgrades/ improvements…
The decision was taken to install an uprated strut assembly with PFLF160 springs and roller bearing top mounts to improve steering.
Other installations include:
New brake discs and pads
New Fuel lines
New bushes, ball joints, wheel bearings etc.
New Superflex Engine and Gearbox Mounts
And much more!

Image credit to https://www.chriswitor.com/
New and improved CV Driveshafts…
CV joints are more efficient and reduce power losses through the drive system whilst delivering smoother driveline operation and because the system runs ‘greasy ball bearings’ it eliminates the clunk and spline lock associated with sliding spline alternatives.
Whilst improved ease of suspension movement enhances the ride and handling.

Paint prep and primer stage -
With the body shell and loose panels all in bare metal, and any corrosion and metalwork complete, it’s time for our painters to get cracking on the paintwork.
We carefully affix the vehicle to the heavy duty roll-over rotisserie, we fabricated some correct brackets to enable secure fitment.

The car is carefully prepared and the outside of the vehicle is primed in an etch primer and 2-pack high build primer.
The underside of the vehicle is prepared and painted in a 2-pack epoxy primer and then ‘Tintable’ Raptor® Stone Chip to the correct colour.
Next stage - the body is blocked down to get a flat finish, all joints sealed and vehicle top coated into Valencia Blue as per factory.
The outside of the vehicle is then sanded and polished to get a flat free finish. This leaves us all the loose panels to paint/spray at a later stage.


Re-build time…


